What About a Keto Tortilla Replacement?
When you shift to a keto friendly lifestyle, you have to put in a little leg work to replace those old standbys or you may derail your progress.
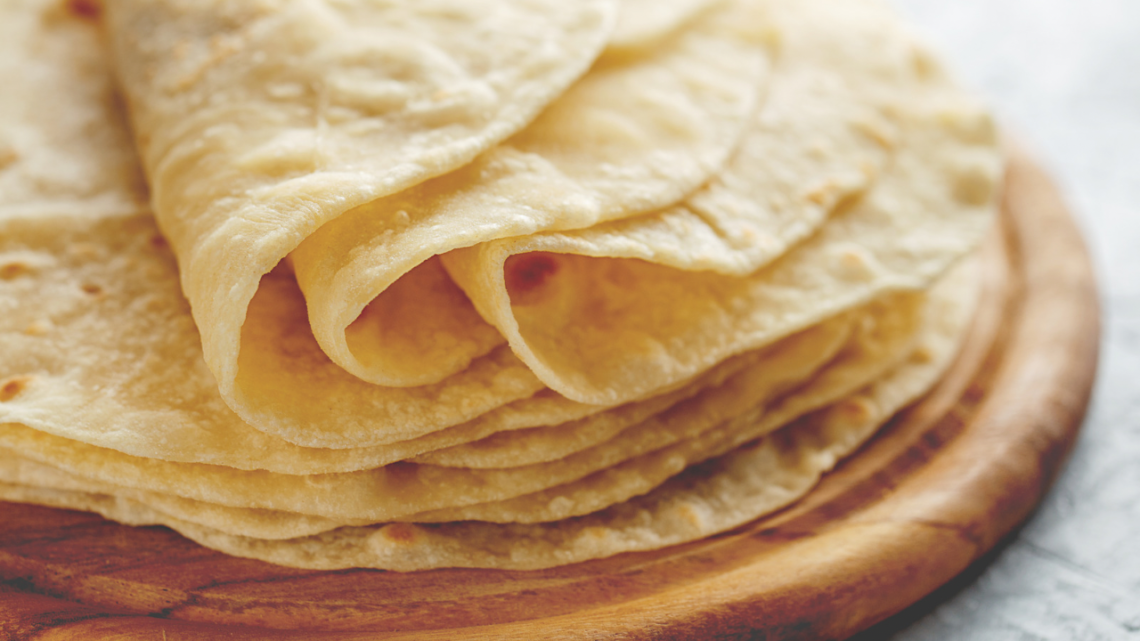
So what about having a keto tortilla replacement?
How often did you grab tortillas before going keto?
Tortillas are one of those pantry staples that we kept in our kitchen at all times.
Don’t know what to make for dinner? Tacos, fajitas, or wraps… dinner is done.
Or when kids are squawking about being hungry… melt some cheese on a tortilla and make a cheese roll-up.
But when you shift to a keto lifestyle, flour and corn tortillas are out of bounds. The tortilla companies have done lots of food chemistry to create low carb tortillas that look just like the real deal. These can be full of a variety of ingredients you may not want and the prices make you think twice before adding them to your cart.
Egg based wraps and tortillas are much more simplistic in ingredients but they still have that high cost.
Plus, they tend to be more delicate.
Because of that, I played around with my ingredients and found what works beautifully for me as a tortilla replacement.
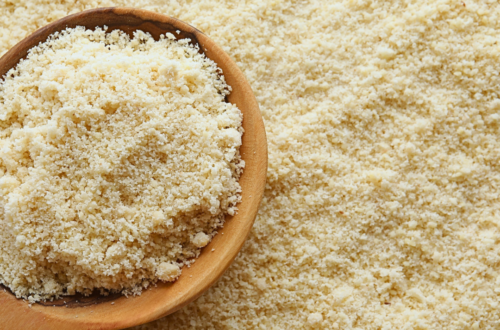
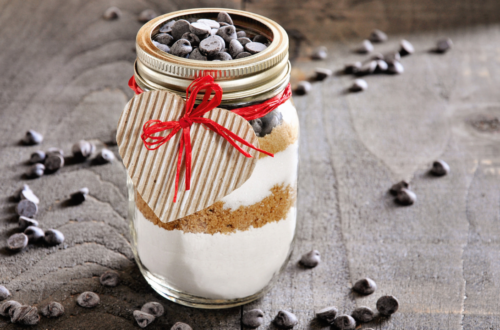
You do need my baking blend for the texture, but feel free to leave it out if you don’t have it or swap it with almond flour.
The gelatin and psyllium husks are what help give my keto tortilla replacement their strength and flexibility. These bad boys don’t tear easily (MAJOR win for making those enchiladas or deli wraps)!
Making the keto tortillas in the oven really simplifies the process and frees you up to manage other tasks in the kitchen.
Now, let’s head off to the kitchen!
KETO TORTILLAS
Ingredients
- 1⅓ cups water
- 1 tbsp gelatin
- 60 g egg white protein powder
- 21 g Baking Blend
- 15 g whole psyllium husks
- ½ tsp Real Salt
Instructions
- Preheat oven to 350°F. Line rimmed cookie sheet with foil or silicone baking mat. Set aside.
- In a bowl, bloom gelatin in water.
- Once the gelatin is fully bloomed, add the rest of the ingredients. Blend well with an immersion blender, regular blender, or just whisk together very well by hand.
- Pour batter onto prepared pan. Bake in oven for about 17-20 minutes.
- Allow wrap to cool completely. Flip pan onto counter and peel away the foil or silicone mat.
- Choose your own adventure: Slice into long broad "noodles" to take the place of lasagna noodles; cut into quarters to use as tortillas in enchiladas and wraps; cut into thin short strips for "noodles" in a chicken noodle soup! You can really use these however you'd like.
- Another option is to put the baked wraps into the dehydrator, between 120-140°F for about 12 hours. Once they're dried completely, pull them out of the dehydrator and snap into crackers or chips (depending on how thick your batter was when you baked it)!
- Store in fridge in air tight container, wrapped in paper towel.

You May Also Like

How About A Nut-Free Keto Flour Substitute?
March 18, 2024